
Setting up Google Search Console is an essential step for any website owner. You’ll need a free Google account, then you add your website as a new “property,” and finally, you verify that you own it. This last part typically involves a simple step like adding a DNS record or uploading a small HTML file. The entire process connects your site directly to Google and unlocks a wealth of performance data in less than an hour.
Why You Need Google Search Console Right Now
Before we dive into the setup process, let’s establish why Google Search Console (GSC) is a non-negotiable tool for anyone with a website. Think of it as a direct communication channel with Google—it provides priceless, unfiltered data on your site’s health and performance that you simply can’t get anywhere else. It goes beyond generic statistics, offering concrete insights that help you build a winning SEO strategy.
To truly appreciate GSC’s value, it’s helpful to first understand what Search Engine Optimization is and how it impacts your online visibility. GSC is essentially the control panel for your SEO efforts, allowing you to see your website exactly as Google sees it.
Uncover Your True Search Performance
GSC reveals the exact search terms people are using on Google to find your site. It also flags technical errors that might be quietly harming your rankings and helps you understand how Google’s crawlers are interacting with your pages.
This isn’t just about tracking keywords; it’s about understanding user intent. For example, you might discover you’re getting a lot of impressions for a term you aren’t even targeting. This is a clear content opportunity handed to you. The platform’s main dashboard is where you can begin digging into this data to improve your performance.
This data provides a clear roadmap of what’s working and what isn’t, so you can stop guessing and start making informed decisions. You can identify which pages are your top performers, spot those with high impressions but low clicks, and determine exactly where to focus your optimization efforts.
Key Takeaway: Google Search Console is not just a reporting tool; it’s a diagnostic and strategic platform. It provides the raw data needed to identify technical issues, optimize content, and ultimately improve your organic search visibility.
A Foundation for Data-Driven Decisions
GSC has been around for a while—it was originally launched as Webmaster Tools back in 2006. Since then, it’s become an indispensable tool for anyone serious about their website, now tracking performance for over 37.9 million sites across the globe. It’s the primary way to understand how your site is performing in Google’s index, offering deep insights into search queries, click-through rates, and site errors.
This tool is fundamental to understanding what role SEO plays in your digital marketing. Without it, you’re essentially flying blind. By setting it up, you gain a significant competitive advantage and lay the groundwork for a truly data-driven strategy.
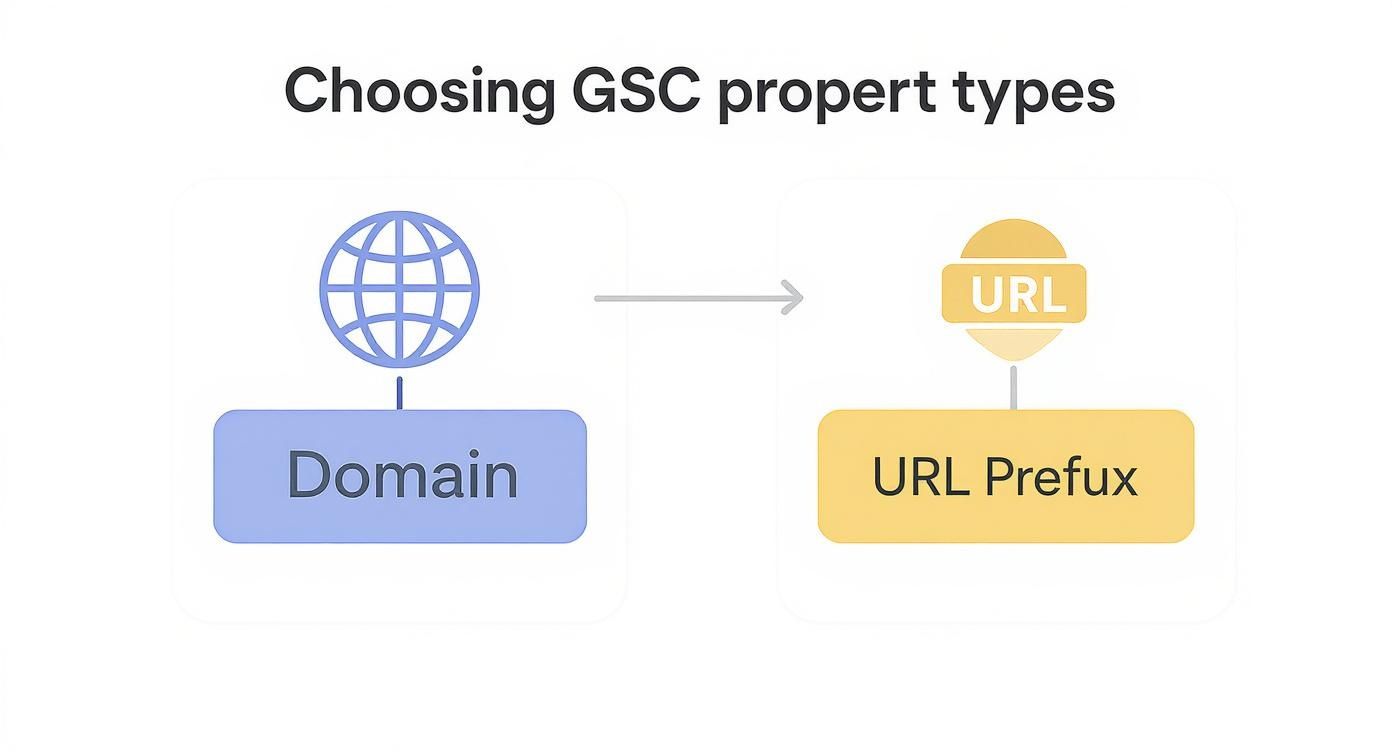
Choosing Your Verification Method: Domain Vs. URL Prefix
As soon as you begin, Google Search Console will ask you to make a critical decision: should you set up a ‘Domain’ or ‘URL Prefix’ property? This isn’t just a minor technical setting; it fundamentally defines how GSC collects and displays data about your website. Getting this right from the start is key to ensuring the insights you receive are accurate and comprehensive.
Think of the Domain property as the all-inclusive option. It provides a complete view of your entire domain, automatically consolidating data from all subdomains (like blog.yoursite.com or shop.yoursite.com) and protocols (http and httpshttps). It’s incredibly useful because it combines everything into one unified dashboard, which is exactly what most website owners need.
On the other hand, the URL Prefix property is more granular. It’s a precision tool that only tracks data for the exact URL prefix you enter, including the protocol (http:// vs https://). So, if you verify https://yoursite.com/us/, GSC won’t see any data for https://yoursite.com/uk/ or even http://yoursite.com/us/. This method is ideal when you need to isolate and analyze a specific section of your site, like a language-specific subdirectory or a single campaign microsite.
Which Property Type Is Right for You?
The best choice depends on your site’s structure and your goals. For the vast majority of websites, the Domain property is the recommended choice. It’s simpler, more comprehensive, and gives you a complete overview without any blind spots.
However, the URL Prefix method can be invaluable in certain situations. Imagine you run an international e-commerce site with distinct subdirectories for each country. By setting up separate URL Prefix properties, you can analyze the SEO performance of each region independently. This can uncover unique search trends and user behaviors in different markets that would get lost in an aggregated view.
Pro Tip: Why not have both? A common and effective strategy is to set up an overarching Domain property for the complete picture, then add separate URL Prefix properties for key subdirectories you want to monitor closely. This gives you the best of both worlds—macro insights and micro-level analysis.
This decision directly impacts the scope of data you’ll be working with. The Domain property offers simplicity and a complete picture, while the URL Prefix property provides precision for more complex site structures.
To make it even clearer, let’s break down the key differences between the two verification methods. This should help you pinpoint exactly which one fits your needs.
Domain Property Vs. URL Prefix Property: A Quick Comparison
| Feature | Domain Property | URL Prefix Property |
|---|---|---|
| Scope | Tracks all subdomains (e.g., www, blog) and protocols (HTTP/HTTPS) automatically. | Tracks only the exact URL prefix specified, including the protocol. |
| Verification | Requires DNS verification, which proves ownership at the domain level. | Offers multiple verification methods like HTML file, HTML tag, or Google Analytics. |
| Use Case | Ideal for most websites to get a complete, aggregated view of all site versions. | Best for isolating data for specific site sections, languages, or protocols. |
| Data View | Provides a single, unified report for your entire domain presence. | Creates separate, siloed reports for each prefix you verify. |
Ultimately, choosing a Domain property is the recommended path for most users because it captures everything under one roof. However, knowing that the URL Prefix option exists for more granular analysis is a valuable tool to have in your back pocket for more complex projects.
Verifying Your Website: A Practical Walkthrough
Once you’ve selected your property type, the next crucial step in setting up Google Search Console is proving you own the website.
This verification step is a security measure. It ensures that only authorized individuals—like you and your team—can access a site’s performance data and see what’s happening behind the scenes. Don’t worry, it sounds more technical than it actually is.
Let’s walk through the most common and practical ways to get verified without any headaches. Each method has its own process, but they all lead to the same result: unlocking a treasure trove of data.
Navigating the Main Verification Methods
After adding your property, Google will immediately present one or more verification options. The options you see depend on whether you chose a Domain or URL Prefix property.
If you selected a Domain property, you’ll be prompted to use the DNS record method. This is the only way to confirm ownership of an entire domain, including all its subdomains and protocols.
If you chose a URL Prefix property, you have more flexibility. You can choose from several options, including:
- HTML file upload: You download a specific HTML file from Google and upload it to your website’s root directory.
- HTML tag: You copy a meta tag and paste it into the
<head>section of your homepage’s HTML code. - Google Analytics: If you’re already using Google Analytics with the same Google account, you can often verify with a single click.
- Google Tag Manager: Similar to the Analytics method, you can use your existing Google Tag Manager container for instant verification.
This decision tree breaks down which property type might be best for your situation, which in turn determines the verification paths available to you.
As you can see, for comprehensive, all-in-one tracking, the Domain property is usually the best choice. But the URL Prefix property offers more granular control when you need it for specific sections of a site.
A Closer Look at Popular Verification Techniques
Let’s dive into the specifics of the most common methods.
The HTML file upload is often the quickest and easiest path for anyone who has access to their website’s back-end files but isn’t comfortable editing code directly. You simply upload the file Google provides into the main folder of your site (the root directory), click “Verify,” and you’re in.
The DNS record method, which is mandatory for Domain properties, can feel a bit more intimidating. It involves logging into your domain registrar (like GoDaddy, Namecheap, etc.) and adding a TXT record that Google provides. The biggest challenge here is patience; DNS changes can sometimes take a few hours to propagate across the internet.
Pro Tip: If your DNS verification fails at first, take a break, wait an hour, and try again. Delays are very common. Don’t immediately assume you did something wrong—give the system time to catch up.
Completing verification is a huge step. You’ll soon have access to data that can uncover significant insights. For example, research shows that about 50% of search traffic data often gets lumped into an ‘anonymous’ category, hiding valuable long-tail keywords. GSC is your key to unlocking some of that hidden potential. You can explore more about these SEO statistics on Feedthebot.org.
Troubleshooting Common Verification Issues
Sometimes, things don’t go as planned. It happens.
A common issue with the HTML file method is uploading it to the wrong directory. It must be in the top-level or root folder of your site, not tucked away in a subdirectory like /blog/ or /images/.
Another frequent problem occurs with the HTML tag method. If your website’s theme or a plugin automatically rewrites the <head> section of your code, your verification tag might be removed. Always double-check your site’s source code after adding the tag to ensure it’s still there before you click “Verify.”
Also, ensure you haven’t accidentally blocked Google’s crawlers. If Google cannot access your site, it cannot verify it. You can learn more about managing crawler access in our guide on what a robots.txt file is. With these tips, you should be able to navigate the verification process smoothly.
Your First Moves Inside Google Search Console
You’ve successfully verified your website—that’s a huge step, but it’s really just the beginning. To harness the real power of Google Search Console, you need to complete a few key configurations right away. These settings build a solid foundation, ensuring you collect clean, comprehensive data from day one.

Think of verification like getting the keys to a new house. Now it’s time to turn on the utilities and arrange the furniture so you can actually live there. These next steps are the GSC equivalent.
Submit Your XML Sitemap
One of the most critical first actions is to submit your XML sitemap. A sitemap is a roadmap of your website, providing Google with a clear list of all your important pages, videos, and other files. Submitting it is like handing Google a blueprint and saying, “Here are all the pages I want you to know about.”
This step is essential for efficient indexing. Without it, Google’s crawlers must discover your pages by following links, which can be slow and unreliable, especially for new or large sites. A sitemap helps Google find your content much faster.
To do this, navigate to the “Sitemaps” report in the left-hand menu. Enter the URL of your sitemap (it’s usually something like yourdomain.com/sitemap.xml) and click “Submit.”
Link to Google Analytics
Your next move should be connecting Google Search Console with your Google Analytics account. These two platforms are powerful on their own, but linking them provides a much richer, more integrated view of your site’s performance.
When linked, you can see GSC data—like search queries and click-through rates—directly within your Google Analytics reports. This is valuable because it bridges the gap between how users find your site (GSC) and what they do once they arrive (GA).
Expert Tip: Integrating GSC and GA unlocks valuable reports in Analytics, like the “Queries” report. This shows you which search terms are driving traffic to specific landing pages, helping you align your content strategy with actual user searches.
Configure User Permissions
Finally, you’ll want to set up access for the right people. It’s likely you aren’t working on your website alone. Whether you have an in-house marketing team, a content writer, or an agency partner like Raven SEO, granting them the proper level of access is crucial for collaboration.
GSC offers several permission levels:
- Owner: Has full control over everything, including adding and removing other users. Reserve this for top-level administrators only.
- Full User: Can see all data and use most tools but cannot add or remove other users. This is perfect for your primary SEO manager or agency.
- Restricted User: Can only view most data and has limited access to tools. This is ideal for team members who need to see performance data but should not be making changes.
By setting these permissions correctly from the start, you ensure everyone has the access they need to do their job without compromising your site’s security. These first moves—submitting your sitemap, linking analytics, and setting permissions—transform GSC from a passive tool into an active, strategic asset.
Putting Your GSC Data to Work for Real SEO Wins
You’ve connected your website to Google Search Console. Now the real work begins. The setup is just the starting point—success is achieved by turning data into tangible results. This is where you see a genuine return on your efforts. Let’s explore a practical tour of GSC’s most powerful reports and how to use them for real-world SEO improvements.

Your first stop, and the place you’ll likely spend the most time, is the Performance report. This is the heart of GSC. It shows you exactly which queries people are using to find your site, which of your pages are attracting the most traffic from search, and much more. Don’t just skim the top-level numbers; the real insights are hidden a little deeper.
Target Your “Striking Distance” Keywords
Looking for a quick win? Hunt for your “striking distance” keywords. These are the search terms where you’re already ranking on the second page of Google—somewhere in positions 11-20. You’re close to the first page but just out of sight for most users.
Go into your Performance report and filter it to show queries where the average position is greater than 10. Scan that list for keywords that are highly relevant to your business and already have a decent number of impressions. A small push, like improving on-page SEO, adding internal links from relevant pages, or updating the content to be more comprehensive, can often be enough to bump these onto the first page, resulting in a significant traffic boost.
Another common scenario is a page with high impressions but a very low click-through rate (CTR). This is a clear signal. It means people are seeing your page in search results, but your title tag or meta description isn’t compelling enough to earn the click. Rewriting these two elements can be a simple fix with a massive impact on your traffic.
Key Insight: The Performance report isn’t just a scoreboard for what’s already working. It’s a diagnostic tool that highlights your biggest growth opportunities. High impressions paired with a low CTR is Google’s way of telling you to write a better headline.
Diagnose Indexing Problems and User Experience Glitches
Beyond performance, you need to ensure that Google can properly find, crawl, and index your website. The Indexing reports, found under the “Pages” section, are your go-to for this. GSC will tell you about any pages that it couldn’t index and, most importantly, why.
Look out for common issues like “Crawled – currently not indexed” or “Discovered – currently not indexed.” These often point to thin content, duplicate content issues, or problems with your site’s overall crawl budget. Fixing these errors is critical to ensuring all your important content has a chance to appear in search results.
Finally, make it a habit to check the Experience reports. These cover Core Web Vitals and Mobile Usability, two areas that directly impact user experience—which is a confirmed ranking factor. Google primarily uses mobile-first indexing, and with over 62.54% of organic traffic coming from mobile devices, this report is essential. To make GSC work for you, you must translate its insights into real site improvements, especially by focusing on optimizing website performance to master these crucial user experience metrics.
Common Questions When Setting Up GSC
Even a straightforward process can leave you with a few questions. That’s perfectly normal. Let’s address some of the most common hurdles people encounter so you can feel confident you’re on the right track.
“Why Can’t I See Any Data Yet?”
This is a very common question. You’ve just successfully verified your site, but you log in to see a message like “Processing data, please check back in a day or so.” Don’t worry, nothing is broken.
It takes time for Google to start collecting and processing your website’s data. You should begin to see the first pieces of performance information within 48 to 72 hours.
For a more complete picture of your indexing status and a broader range of search queries, it’s best to give it about a week. It’s also important to remember that GSC data isn’t live; there’s usually a lag of about two days in the reports you see.
“What’s the Real Difference Between Impressions and Clicks?”
This is another frequent question, and understanding the distinction is fundamental to interpreting your performance. The two core metrics you’ll look at are Impressions and Clicks.
- An impression is counted anytime a link to your site appears in a Google search result for a user. They don’t have to scroll down to see it. If your URL was on the page that loaded, it counts as one impression.
- A click is exactly what it sounds like: a user selects your link from the search results and lands on your website.
The ratio between these two metrics is your Click-Through Rate (CTR), and it’s a vital indicator of how well your page title and meta description are performing.
Key Takeaway: Seeing many impressions but very few clicks is a classic sign. It tells you that while Google finds your page relevant, your search snippet isn’t compelling enough to earn the click. This is an opportunity to test new titles and descriptions!
“Help! My Verification Failed. What Now?”
Hitting a verification roadblock is a common hiccup, so don’t panic. The first step is to double-check the instructions for your chosen method, as simple typos can be the cause.
If you used the DNS record method, the most common culprit is simply impatience. DNS changes can sometimes take up to 48 hours to fully propagate across the internet. It might just be a waiting game.
If you’re still stuck, the easiest solution is often to try a different method. If you have Google Analytics already installed or have access to your site’s HTML, those verification methods are often the quickest and most reliable alternatives. For more troubleshooting advice and strategies, check out our guide to essential Google Search Console tips for SEO success.